Starting to feel that chill in the air? It’s definitely a good time to start thinking about insulating your home.
Proper insulation means reduced heat transfer, which helps your home stay cool in the summer and warm in the winter. It comes with the added bonus of shrinking your energy bill year-round.
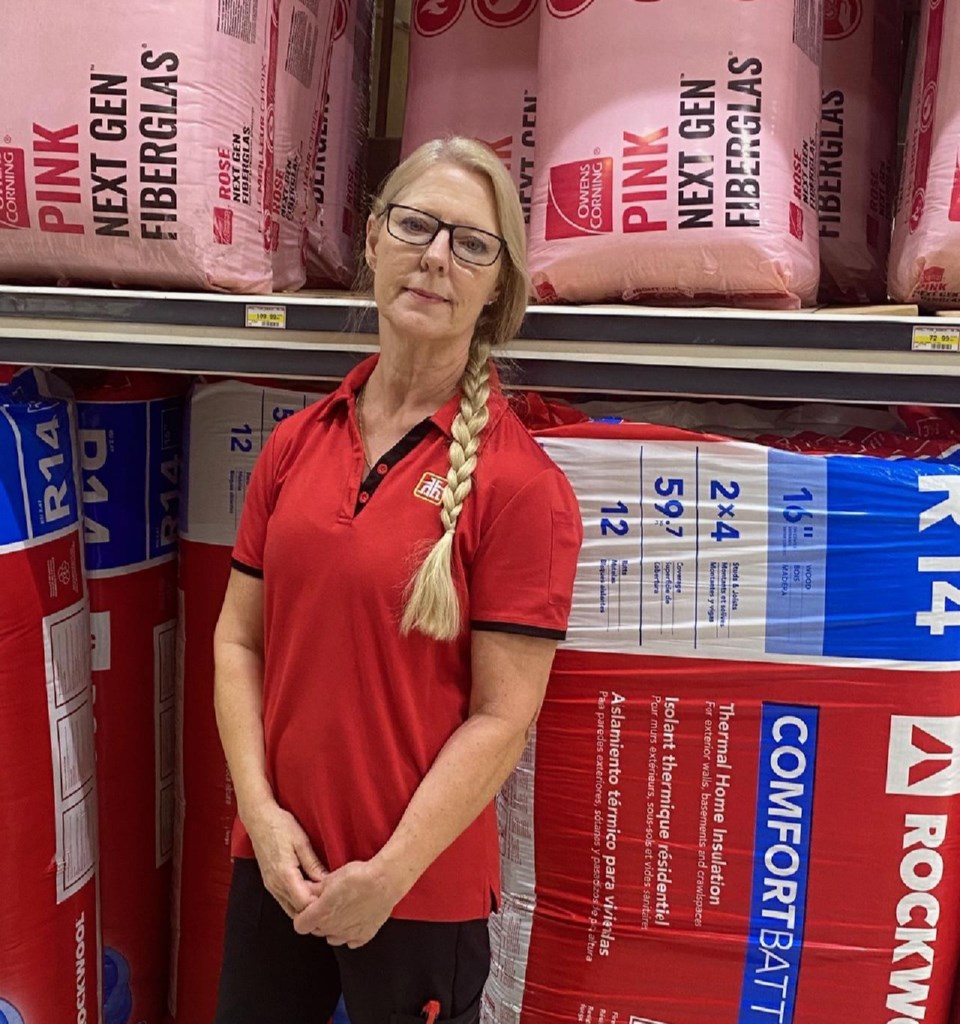
Village Media Content Studio spoke to Patricia at JL’s Home Hardware Building Centre in Guelph, to learn how to choose the right insulation for your home and when to do-it-yourself or call in a professional.
Types of home insulation
Depending on the type of insulation you’ll be installing and the size of the job, your home improvement project could last anywhere from one hour to multiple days. These insulation products will help you get the job done right.
Fibreglass insulation
Fibreglass insulation has a wool-like texture. It comes in batts, rolls and loose, blow-in fill. Made from melted glass and sand, it is Canada’s most popular insulation material—batts in particular). It is easy to install, economical, soundproof and fire-resistant.
This kind of insulation works best in large areas, such as roofs, attics, wall cavities, crawlspaces and basements.
Batts and rolls are DIY/beginner friendly. Blow-in loose fill insulation does require some intermediate skills, as well as rental equipment and a helper—hiring a professional is recommended.
Mineral wool insulation
Also known as rock wool, mineral wool insulation is similar in texture to fibreglass. It is made from melted rock and blast furnace slag; it also comes in batts, rolls and loose, blow-in fill.
It has certain advantages over fibreglass: it is stiffer, which makes it easier to handle and cut. It is easy to install, especially when you’re using rolls to cover large areas. It is also soundproof and fire-resistant.
Like traditional fibreglass, it too is good in large areas like roofs, attics, wall cavities, crawlspaces and basements. The installation skills required are the same as for regular fibreglass insulation (see above).
Cellulose insulation
This kind of insulation is made out of paper, paperboard and wood. It is a blow-in, loose-fill cellulose that has been chemically treated to improve its fire resistance. Environmentally friendly, some products are made from 100% recycled materials. Cellulose insulation provides moderate fire resistance.
It also works best in large areas and applications, and requires intermediate skills, rental equipment and a helper, so hiring a pro is recommended.
Spray foam
Spray foam is a chemically based insulation product. It needs to be sprayed into cavities and definitely requires the expertise of professionals.
Closed-cell polyurethane (CCP) spray foam is expensive, but it’s also the most effective insulation on the market. However, it is important to note that it is not recommended for households in which people have skin or respiratory problems, such as asthma.
Spray foam provides little fire resistance, though it can be improved by the addition of a thermal barrier. It is best suited for large areas, but it cannot be near any electrical or light boxes or between studs. Installation must be done by a professional.
Foam board insulation
For a strong, dense option that offers moisture resistance, try polystyrene foam insulation boards. They are pricier than batt insulation, so save these for areas where moisture is a concern.
Foam boards are best used in damp areas, like the exterior foundation and basement walls that touch the foundation. Beginner to intermediate DIYers will be able to install this material.
Insulating spray sealant
Use an insulating spray sealant to seal any gaps against water, air and insects. It is inexpensive, easy to use and effective.
It is best used in small areas, such as gaps and crevices around window and door frames, in masonry and around gas and plumbing lines. This is a beginner-friendly project for DIYers.
Reflective bubble foil
This bubble wrap is made from a double layer of polyethylene. The reflective insulation is then cut into size and taped into place. It is both easy to use and effective, excellent for wrapping heating and cooling ducts, pipes, air returns and radiant heating systems. Beginners will find this an easy DIY project.
Pipe insulation wrap
These tubular foam sleeves made from polyethylene have a slit in them, allowing them to be slipped over pipes. This helps insulate your pipes against heat loss, freezing and condensation. The sleeves must be sealed, either using tape or contact cement; you could also opt for self-sealing pipe wrap, which can save some time.
Pipe insulation wrap is best used in cool spaces, such as basements, attics, garages and crawlspaces. This is a beginner-friendly installation.
Performance considerations
If you want to get the most from your home insulation, it’s about more than just the material you choose. You also need to have proper installation and sealing.
DIY vs. professional installation
Aside from spray foam, which requires professional installation, all of the other types of insulation can be done by homeowners. Just keep in mind that major projects can be messy and/or time-consuming. You must follow the manufacturer’s installation instructions precisely in order to achieve the full benefits of the product.
Proper sealing
To minimize the movement of air in and out of your home, seal any cracks, gaps and holes. Drafts dramatically reduce the effectiveness of your insulation, so air sealing should always be part of any insulation project.
R value
The R value measures a material’s ability to resist heat transfer. The higher the R value, the greater its insulating ability. That said, for a product to achieve its labelled R value, proper installation and sealing are required.
Essential home insulation accessories and installation tools
- Foil tape:
This self-adhesive tape connects and seals ductwork, vapour and weather barriers. Use it where moisture- and temperature-resistance are priorities.
- Caulking:
Use caulking to seal gaps, cracks and holes when weatherproofing your windows and your home’s exterior.
- Tape measure:
Make sure to accurately determine the dimensions of a space by using a tape measure. You’ll want to do this for your insulation materials too.
- Straight edge:
Use a straight edge to trim a variety of materials, including foam board, bubble foil, rock wool and other types of insulation.
- Utility knife:
You’ll need a sharp blade to make even cuts when using all of these materials.
- Stapler:
A stapling tool will help you secure some types of insulation or barriers to studs and framing.
- Putty knife:
When you need to push insulation into small spaces and crevices, or apply caulk to window frames, a putty knife will come in handy.
- Dust mask:
Wear a mask to avoid inhaling dust and/or other airborne particles.
- Safety goggles:
You’ll also want to protect your eyes from any dust, debris and/or airborne particles.
For more information about insulating your home, visit JL’s Home Hardware Building Centre or call 519-822-8230.

This article was sponsored by JL's Home Hardware, a 2023 GuelphToday Reader Favourite.